Invite your co-workers or staff members to your TeamCal account and let them have access to your schedule. Once invited they can see your all schedules and actively participate in scheduling. You can invite as many users as you want to your TeamCal account. This article will show you how to do that.
💡 Tip: If you plan to invite customers or clients, then the TeamCal sharing feature will be a better solution. The sharing feature is perfect to see a live view of your schedule but not allow any changes.
Add users
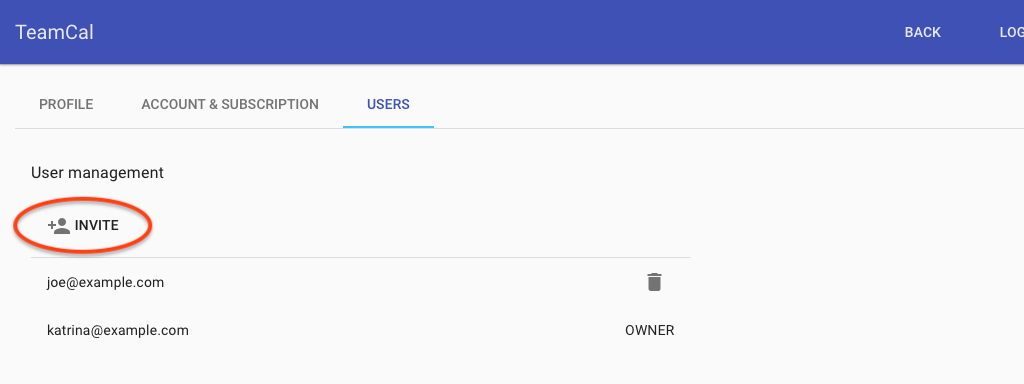
To invite more users, go to the account settings, by clicking on “Account” on the top right of the TeamCal menu bar. In the “Users” tab click “Invite” to create an invitation link.

Copy the link and send it by email or a chat-app like Slack. Make sure to create a new invitation link for every user you plan to invite.

Once the user has opened the link, they will join your TeamCal account and appear in the “Users” tabs. Congratulations, they now have access to all your schedules.
Manage existing users
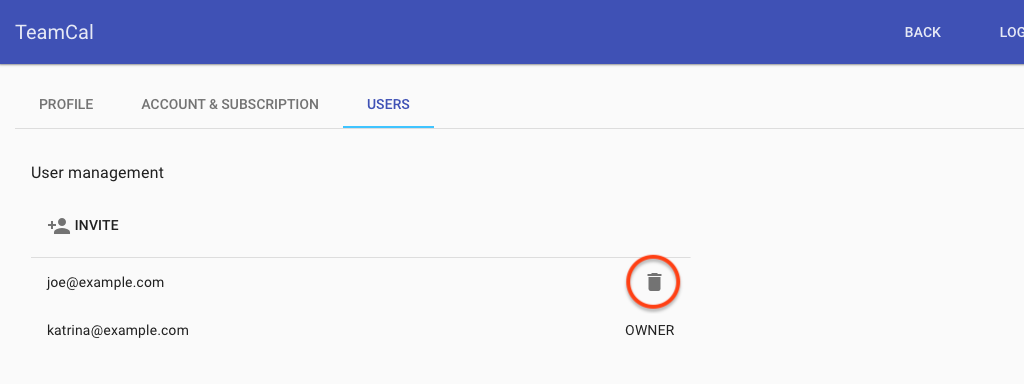
At any time you can remove existing users, and they will lose access to all schedules. To remove an existing user click the “Remove” button next to the user’s name.
